

In the last step, we went over How to monitor realtime server-side data in Google Analytics 4, which is very important in order to ensure the correct web (and app) data is making it into your Google Analytics 4 (GA4) dashboard. Based on the Realtime data structure, Google Analytics will begin generating historical data which you'll be able to view, analyze and use to build Google Ads in the reporting interface found within the Google Analytics account.
Being able to collect data and build reports based on it with Google Analytics 4 (GA4) is more important now than it ever was, as standard Universal Analytics properties are scheduled to be decommissioned starting July 1st, 2023, and doing so via a server-side implementation is even better, as it'll allow you to bypass most of the hurdles that Universal Analytics and regular client-side tracking has struggled with for so long! Let's dive into our final step and find out how you can migrate the server we've built along the course of this guide from testing mode into production.
Using Google Cloud Platform to migrate the server from testing mode into production mode
The process of moving the server to production mode may seem quite complicated at first, however, Google has made it quite simple. The steps will require you to access the console (a user interface for running server commands) within Google Cloud Platform and run a deployment script which will perform all the necessary actions to place your server into production mode. Here are the steps you need to follow:
-
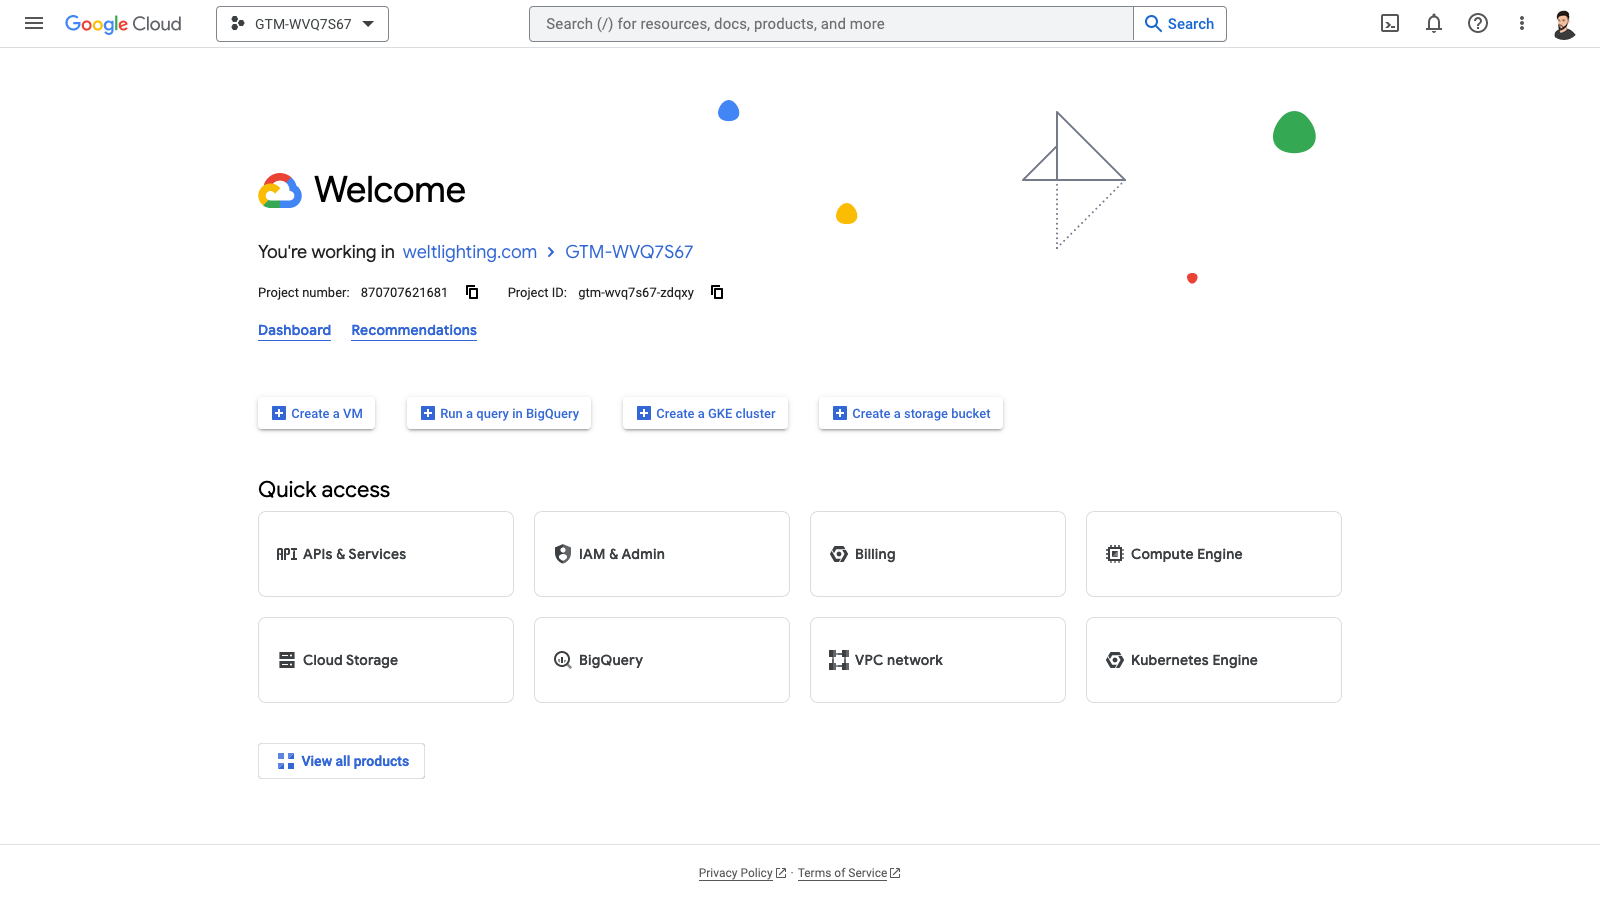
Head over to the Google Cloud Platform and log in. You can also access the dashboard from your Google Tag Manager container directly.
-
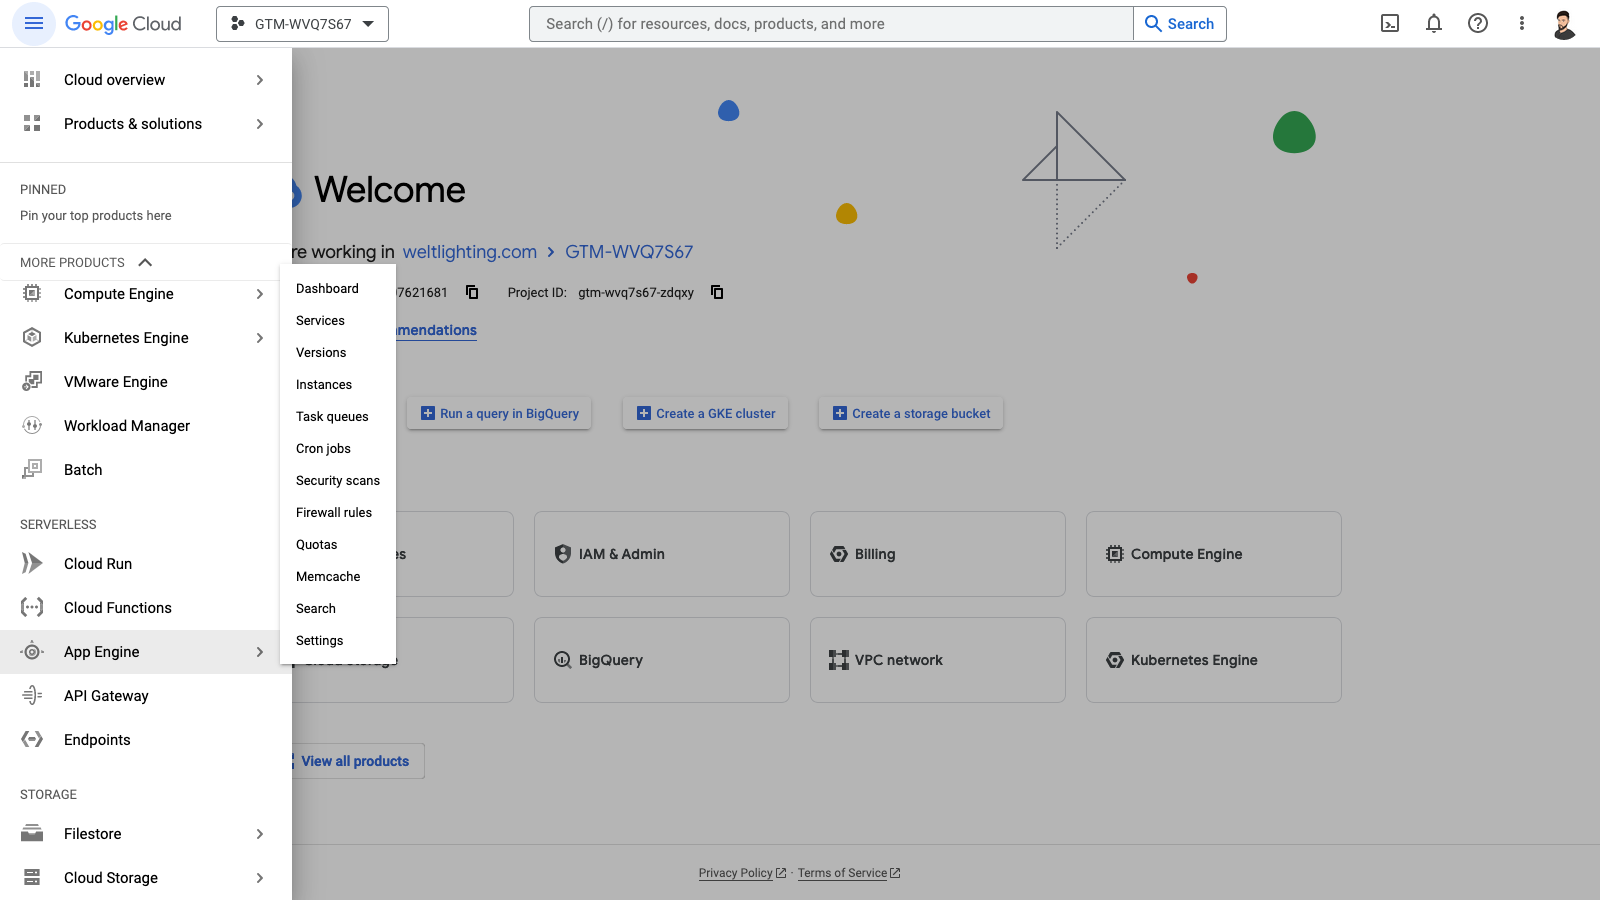
Open the menu on the left-hand side of the screen and scroll down to App Engine. Click on it, and then on Dashboard.
-
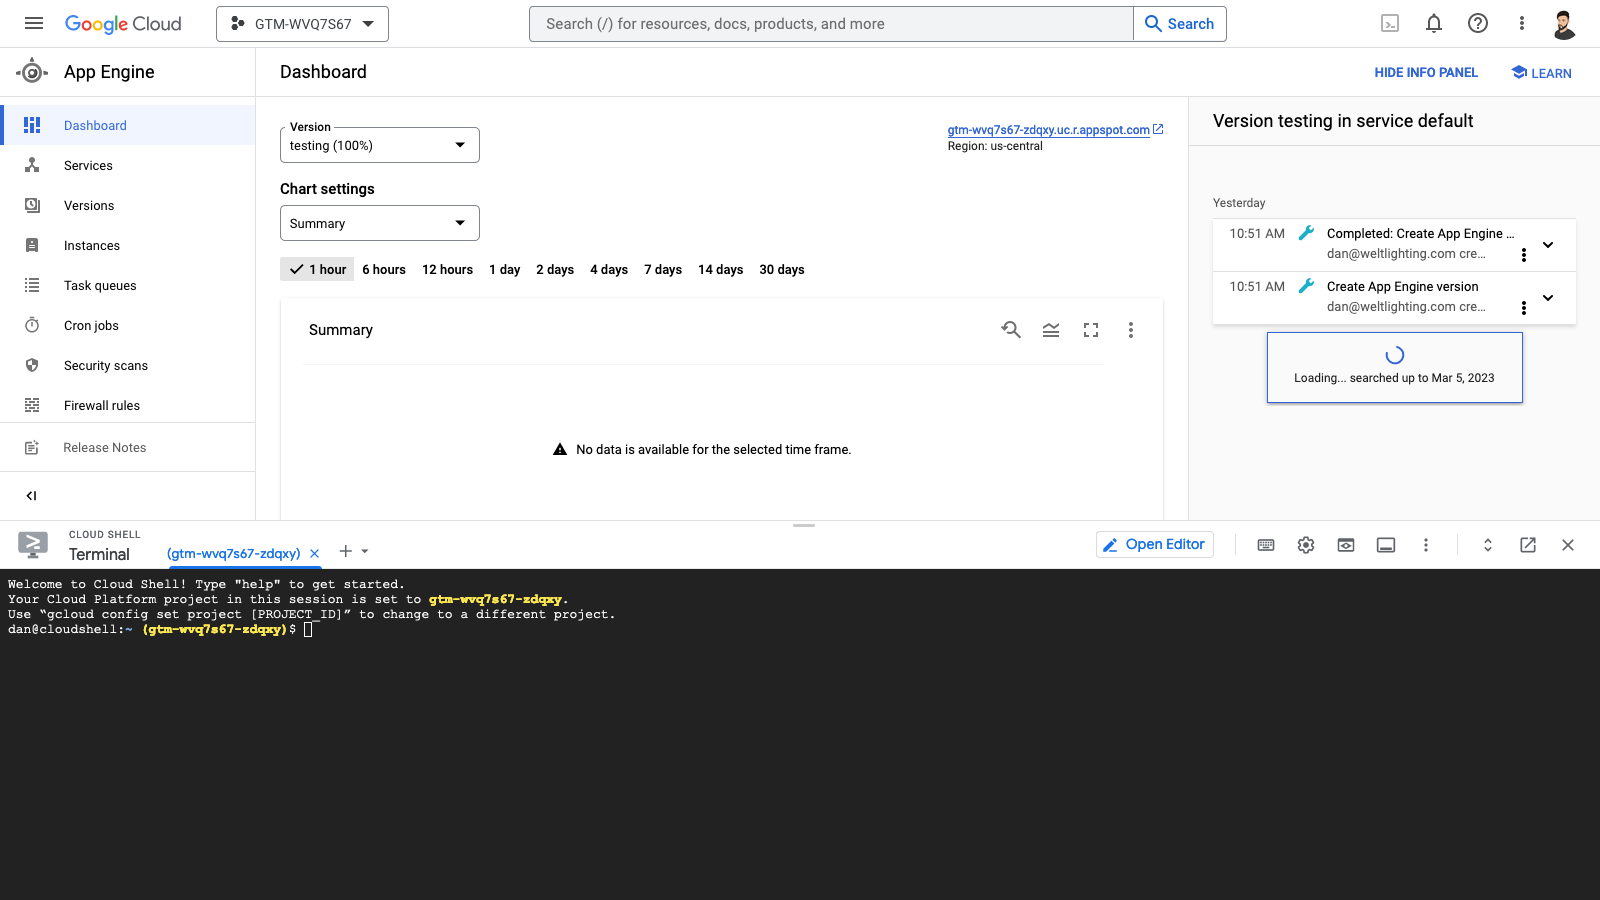
In the Header section of the page, on the right side, click on the Activate Cloud Shell button, which will bring up a terminal in which you'll be able to run commands. This will take a few seconds while the terminal instance is being provisioned.
-
Ensure the terminal is linked to the correct Project ID. If you're unsure whether or not it's correct, you can double check it in your Google Tag Manager account, within the container. Just head into your Google Tag Manager account, navigate to Admin and then Container Settings. Under Tagging Server, you'll see the Google Cloud Platform Project ID, which you can cross-reference with the one in the terminal.

-
If the ID listed in the terminal does not match the one you see here, you can change it with a quick terminal command, which is also displayed in the terminal itself. Just swap out [PROJECT_ID] with the Project ID you see in Google Tag Manager.
gcloud config set project [PROJECT_ID] -
Once you've confirmed the Project ID is correct, it's time to run the migration command
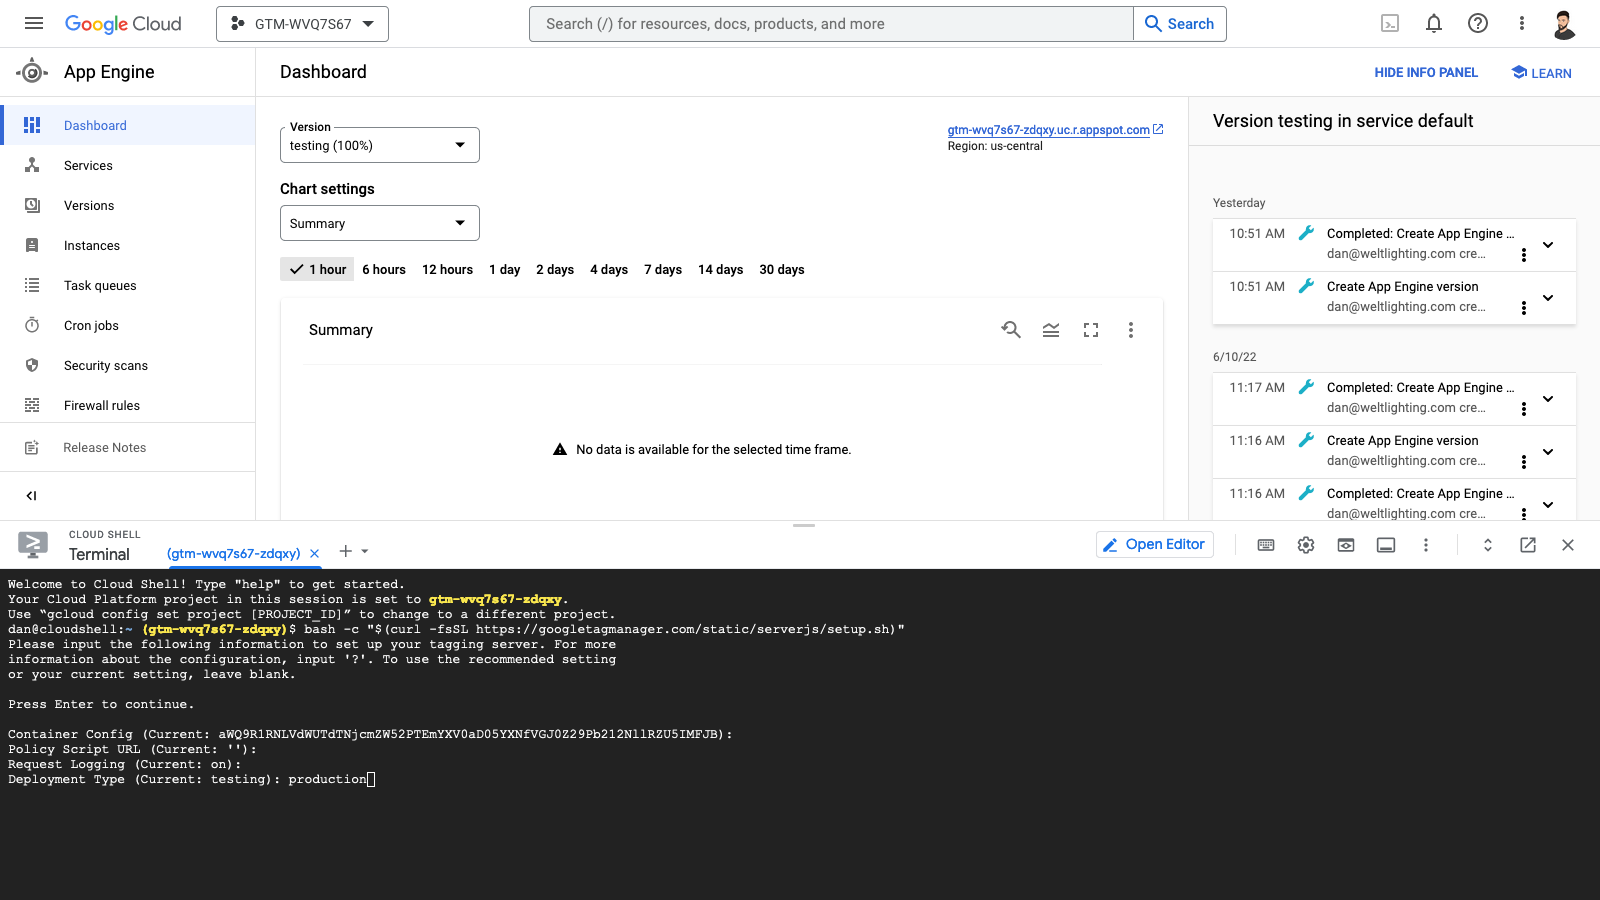
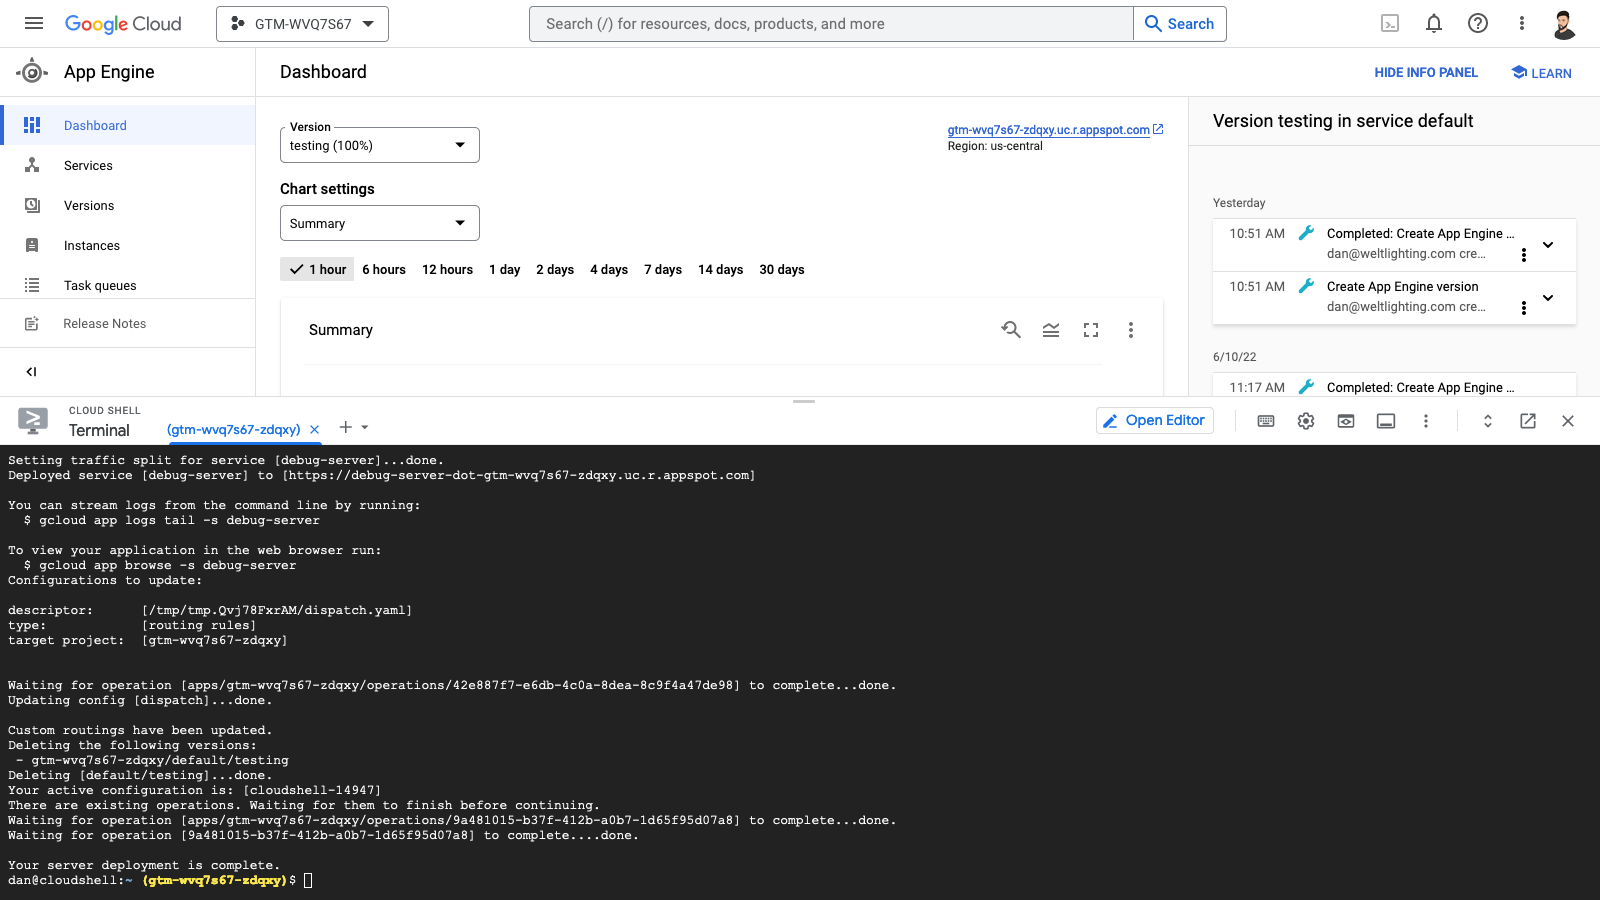
bash -c "$(curl -fsSL https://googletagmanager.com/static/serverjs/setup.sh)"This will run a setup script which will ask you a couple of questions and bring your tagging server up to the latest version. In most cases, you can simply hit Enter to use the default values.
-
Question number 4 will ask you what Deployment Type you want to use. The current type should be testing, so go ahead and type production and hit Enter. This will tell the script to change the server type from testing to production.
-
Answer the rest of the questions (again, in most cases, the default values are fine) and continue on with the script. After the final step, the script can take a few minutes to complete, after which you'll receive a confirmation that the server deployment is finalized.
-
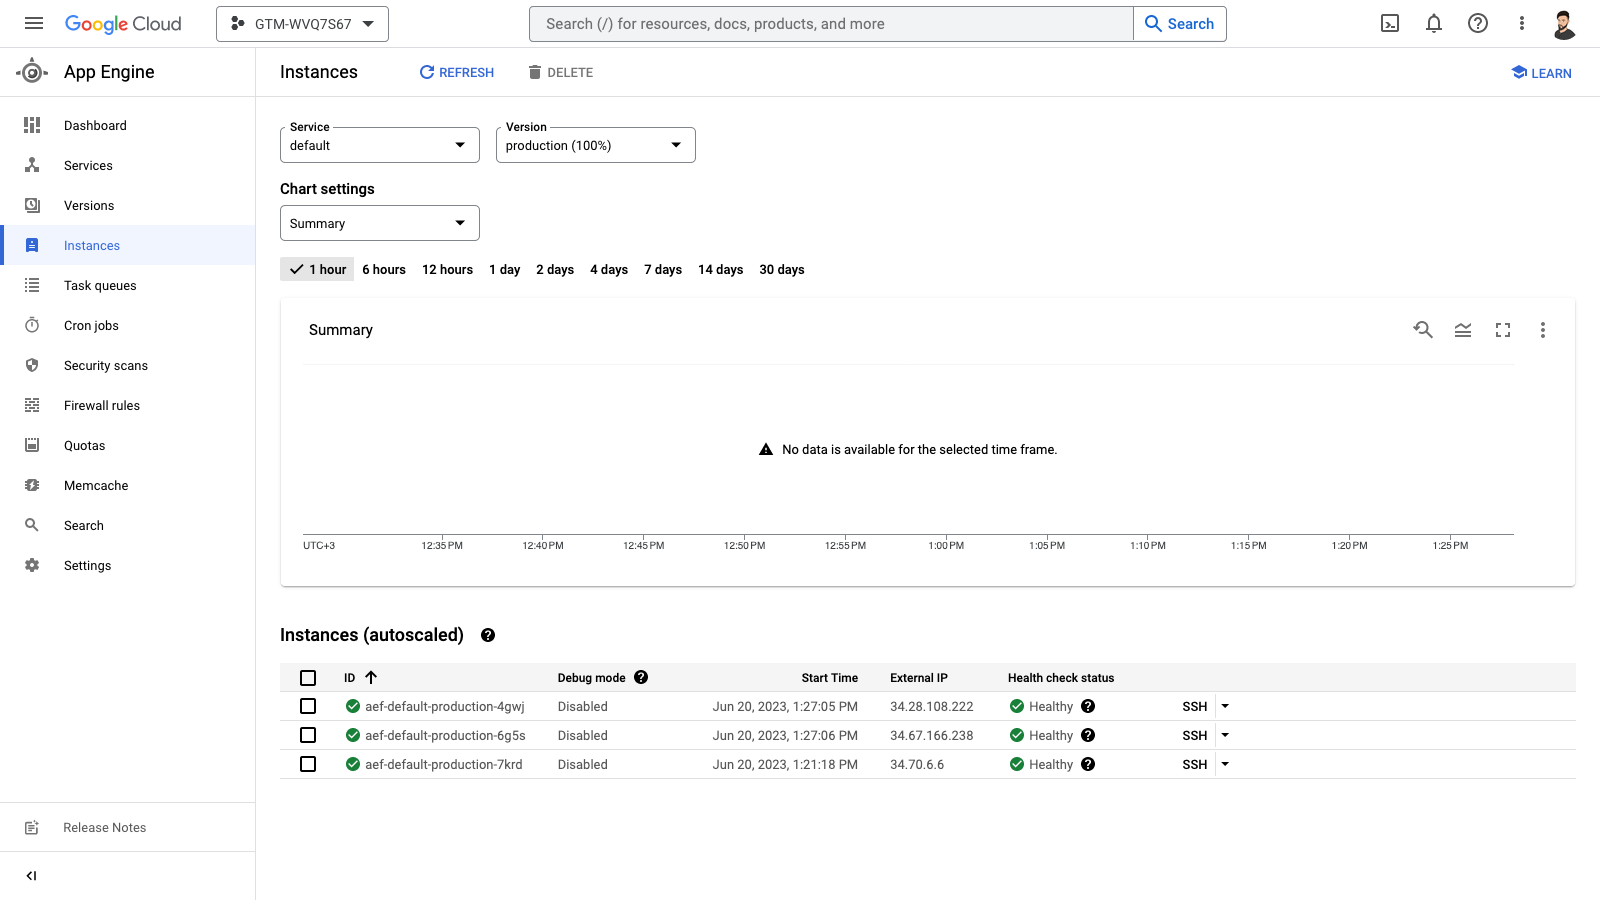
To further validate that the server is now in production mode, you can use the menu on the left to navigate into Instances, and you should see some records in the Instances section, with a status of Healthy.
That should be it! Your server is now in production mode and your data should now be sent over to Google Analytics completely server-side, using your own tagging server. Your Google Analytics 4 instance should now be able to use the server-side data points you send in order to monitor and create reports pertaining to the user journey, user behavior, customer lifecycle, etc, all via its advanced machine learning algorithms!
In case you missed any of the other steps of the Google Analytics 4 (GA4) server-side tagging process, you can find them all listed below:
- Step 1: How to create a server-side GTM container
- Step 2: How to set up a custom domain for your GTM server-side container
- Step 3: How to send data to your GTM Server-Side Container
- Step 4: How to preview and debug the server-side container
- Step 5: How to monitor realtime server-side data in Google Analytics 4
- Step 6: How to move the Google Analytics 4 tagging server from testing mode into production mode
