

Previously, we learned how to Preview and Debug the Server-Side Container, and also found out how to validate the fact that an outgoing request is sent over to Google Analytics 4 via our web server 1st-party cookie, thus bypassing most of the obstacles that client-side tracking faces, be it the user's browser settings, user's device settings, cookie restrictions, Ad Blockers, the disabling of javascript code/client-side scripting, etc.
The next step is to go ahead and ensure that our data is making it into our Google Analytics Dashboard. As a general rule, it's very important to note that Google Analytics 4 is extremely slow at processing the data it receives. This means that it can take up to 48 hours (more, in some cases) for reports to be generated and updated, which means the best option for monitoring incoming data is the Realtime functionality. Realtime is a report that allows you to preview event data as soon as it comes in, which is extremely useful when you need to validate that a specific integration is working as expected.
Note: As Google Analytics Universal Analytics is being decommissioned starting the 1st of July, 2023, it's extremely important that you migrate over to Google Analytics 4. If you're on the Magento 2 platform, this is extremely easy to do using our dedicated Google Analytics 4 PRO extension. The extension features server-side tracking via Measurement Protocol, as well as regular client-side tracking, allowing for flexibility and accuracy when it comes to tracking user interactions via both the server-side processes and the client-side processes.
Accessing the Realtime Report in Google Analytics 4
Accessing the Realtime Report in the Google Analytics 4 dashboard is very simple. Let's explore the steps in the example below:
-
Log in to your Google Analytics 4 account to open up the dashboard.

-
Using the menu on the left of the web page, head into Reports.
-
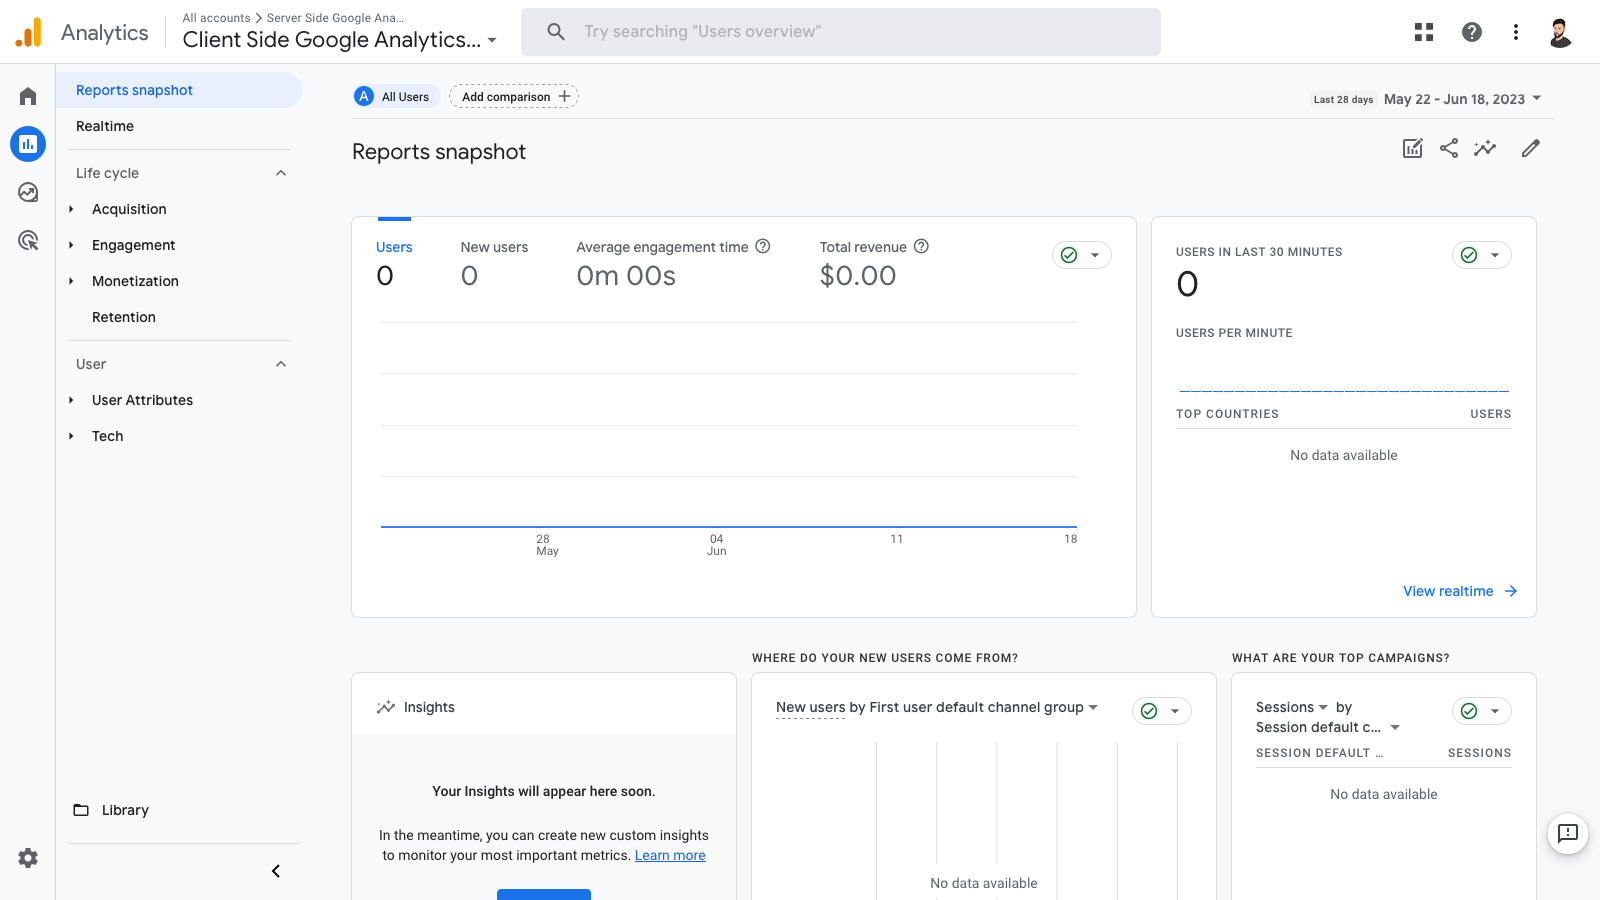
You'll be taken into the Reports Snapshot section, which is basically a summary of your property's data within a given time period. Next to the menu on the left, you'll see another menu-type section, in which you can switch from Reports Snapshot to Realtime. Click on Realtime, to open up the Realtime Report.
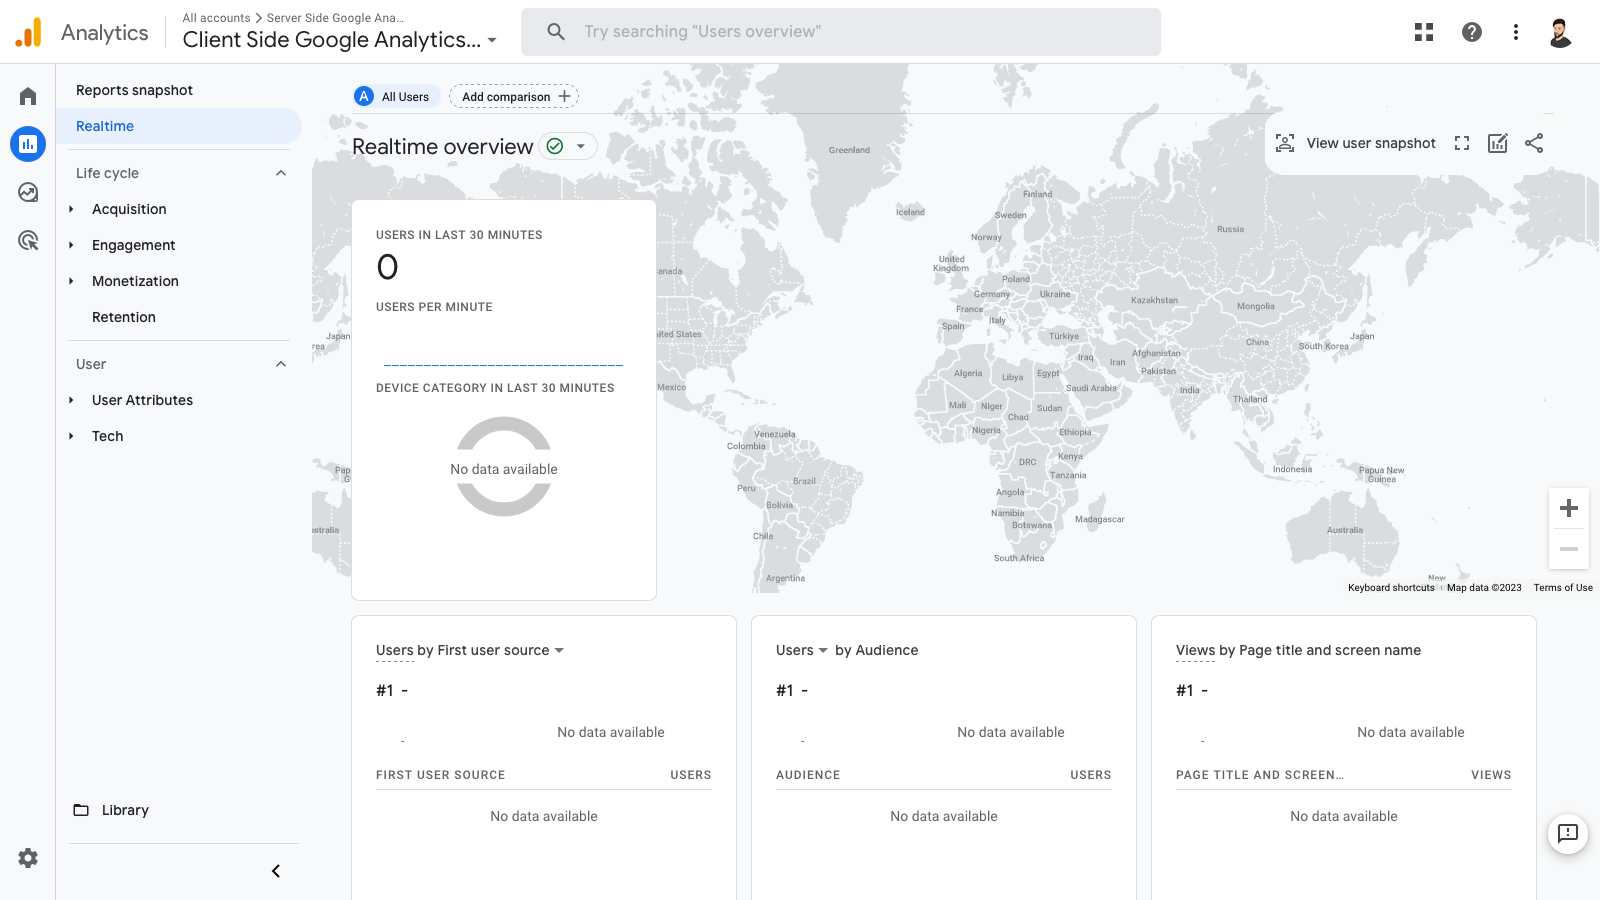
Note: If you've been browsing the website, you may already see some data/events in this section. If that's the case and you want to validate and make sure that data is being sent as a result of the current test, you can wait 30 minutes without taking action on the website, at which point the Realtime Report will refresh and you can start testing then.
-
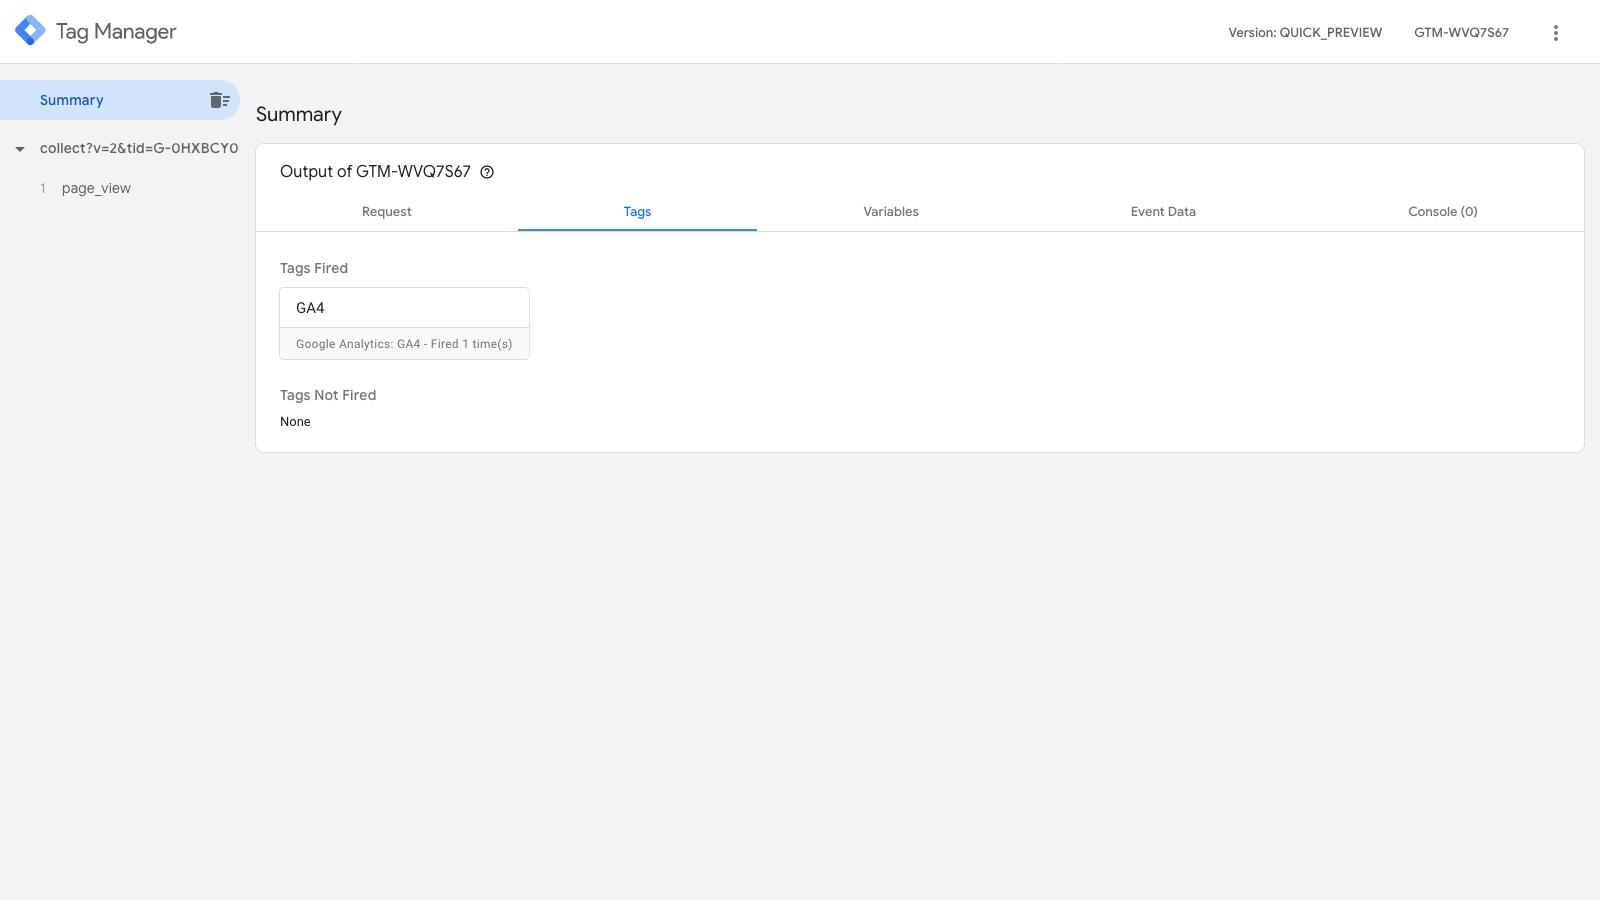
Open up the Preview Mode for the Google Tag Manager Server-Side Container. We'll use this to validate once again that our page_view event is being fired.
-
Refresh your website's frontend, which should generate a page_view event that you can see in the Google Tag Manager Preview Mode.
-
Go back into the Google Analytics 4 Dashboard and your Realtime Report should refresh, showing the page_view event in the Event Count by Event Name section.
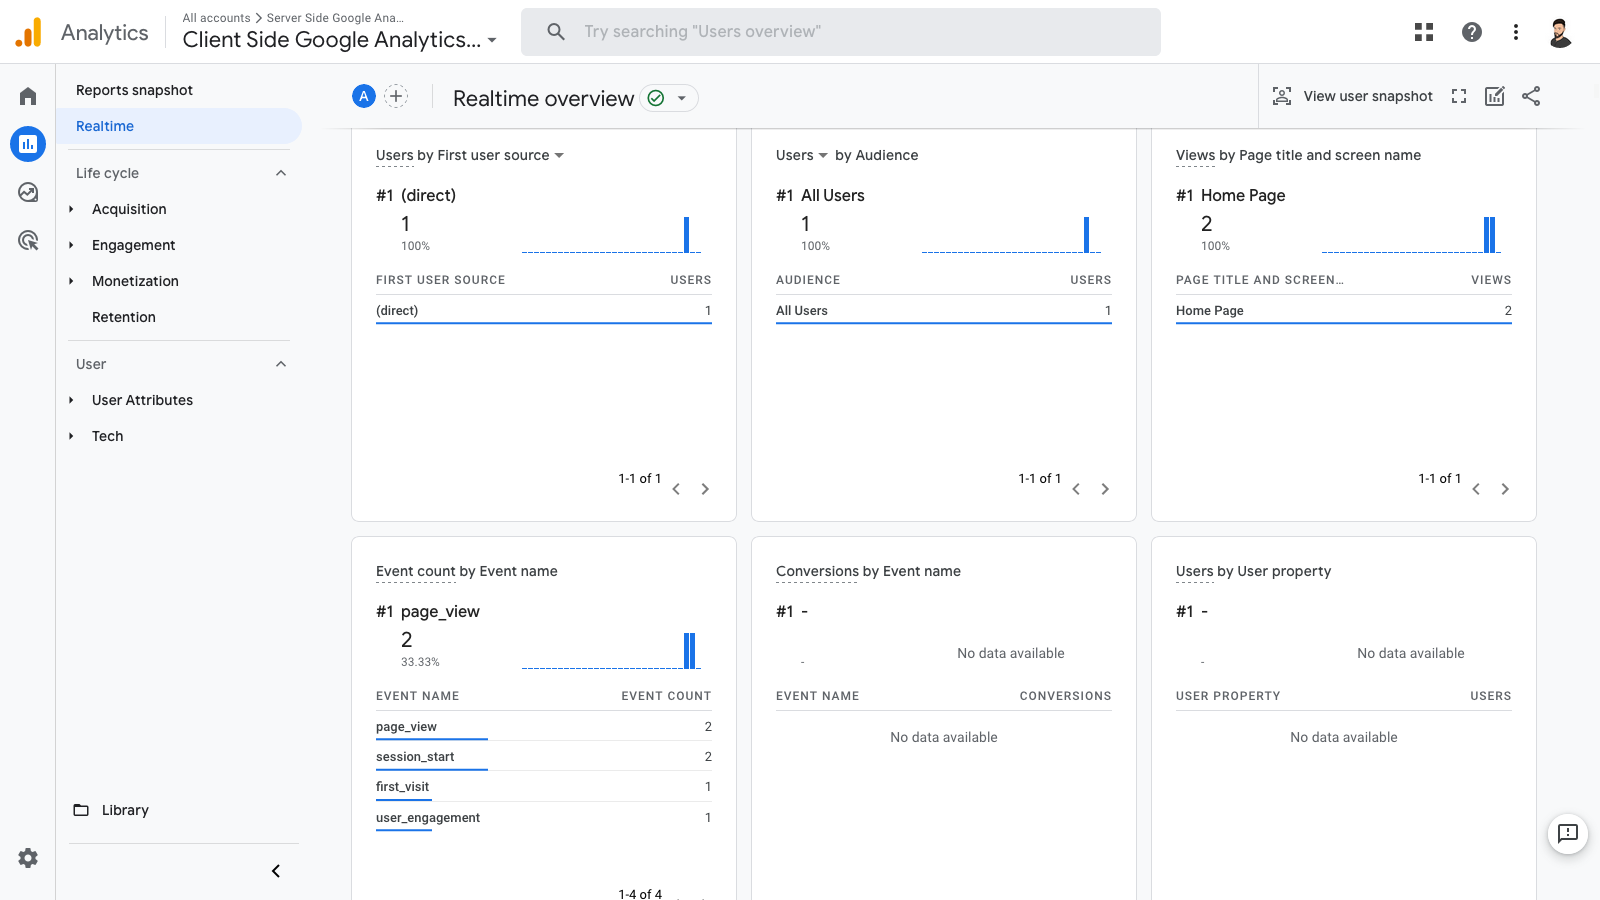
That should be it! Once you've confirmed the page_view event has made it into Google Analytics, you're pretty much set to start extending the data you're sending from the client-side container with more events and parameters and measure user interaction more closely. More details on how that can be done specifically can be found in Google's Documentation.
The next step involves moving your server from testing mode to production, which is quite a simple process when using Google Cloud Platform (no wonder web developers love it). Before doing so, however, it's recommended that you keep monitoring your data for a few more days, in order to make sure everything is being sent and updated as you expect it.
In the next step, we'll be taking a look at how to move the testing server to production.
Check out all the steps in the guide here:
- Step 1: How to create a server-side GTM container
- Step 2: How to set up a custom domain for your GTM server-side container
- Step 3: How to send data to your GTM Server-Side Container
- Step 4: How to preview and debug the server-side container
- Step 5: How to monitor realtime server-side data in Google Analytics 4
- Step 6: How to move the Google Analytics 4 tagging server from testing mode into production mode
